Looking for a way to work with your embroidery designs and create new ones? After many years of searching for an affordable solution to embroidery digitizing I bring to you the newest offering, Hatch by Wilcom. Check out this first video in the series introducing the features and functions of Hatch. Check back for more videos teaching how to use it!
Showing posts with label sewing. Show all posts
Showing posts with label sewing. Show all posts
Friday, July 1, 2016


Friday, June 20, 2014
DIY Cornhole Bean Bag How To
Today I show how to make some bean bags that can be used for the bean bag toss game called Cornhole. All you need is 2 different colored pieces of duck cloth and 8 pounds of cracked corn. You should be able to make a set of 8 for less then a dollar a bean bag.
(0).jpg)
Click HERE to see the video!
Enjoy!!!
Friday, May 16, 2014
How to Finger Knit Beginner Turotial
Today my son wanted to do a video for us that shows how to finger knit. Finger knitting is fun, relaxing and rewarding. It is a great way to get kids and adults into knitting and sewing. All you need is some yarn and scissors and off you go. We hope this video will help you get the younger people in your life excited about crafting!

Click HERE to see the video!
Enjoy!
Friday, May 9, 2014
Burley Bloopers
Happy Mothers Day! Today's video is a blooper real from some of the failed outtakes Bryan and I have done. With the weather finally getting better I didn't have time to do any projects this week so I decided to let you all see us in rare form instead. I hope this video brings a smile to your face.

Click HERE to see the video.
Enjoy!
Friday, May 2, 2014
Serger Troubleshooting For Any Serger- Serger Machine Series Ep. 4
This is the fourth episode of the serger machine miniseries. This video gives troubleshooting tips to help guide through missed stitches and other problems that can occur with any serger.

See the video HERE.
Enjoy!
Sunday, April 27, 2014
Serger Tension Adjustment- White Superlock 534 Serger- Serger Machine Series Ep. 3
This is the third episode of a serger machine miniseries. This video takes a look at adjusting tension the serger. Bryan is back and he has a White Superlock 534 serger for us to take a closer look at. There will be one more video coming up in the next Friday to close out this miniseries.

See the video HERE.
Enjoy!
Friday, April 18, 2014
How to Thread the White Superlock 534 Serger- Serger Machine Series Ep. 2
This is the second episode of a serger machine miniseries. This video explains how to thread the serger. Bryan is back and he has a White Superlock 534 serger for us to take a closer look at. Check back on future Fridays to see the rest of the videos. They will show how to adjust tension and even some troubleshooting.

Click HERE to see the video!
Enjoy!!!
Friday, April 11, 2014
White Superlock 534 Serger- Serger Machine Series Ep. 1
This is the first episode of a serger machine miniseries. This video explains the basics of a serger. Bryan is back and he has a White Superlock 534 serger for us to take a closer look at. Check back on future Fridays to see the rest of the videos. They will show how to thread it and even some troubleshooting.

Check out the video HERE!
Enjoy!
Friday, March 28, 2014
How To Fix A Tension Issue On A Singer 6215
Today we take a look at a tension issue on the Singer 6215. For this I bring in my go to guy Bryan. My neighbor recently acquired this machine to do some sewing however the thread is gathering on the bottom due to a tension issue. In true "Bryan" fashion he finds the heart of the problem in seconds and explains to us how to fix it. I hope you enjoy the video and thank you Bryan for your help!

Click HERE to see the video!
Friday, March 21, 2014
Brother Programmed Rectangle Embroidery Frame / Border Design
Today we take a look at one of the stock frames that come programmed in most Brother Embroidery Machines. The machine used in the video is the SE400. It comes with 10 different frames that can use one of 12 different decorative stitches.

Check out the video HERE!
Friday, March 14, 2014
How To Make Four Leaf Clover Embroidery Design Using Shapes in SewArt

Saturday, March 8, 2014
How To Make A Plastic Grocery Bag Holder Tutorial
What do you do with all those plastic grocery bags after you unpack your food? Do you keep a bunch of them wadded up in another bag, stuffed away in a drawer like we did? Today's video shows how to make a holder for all of those unsightly bags. Not only does it hold the bags and make it easy to grab one when you need, but it also looks good doing it!
.jpg)
Check out the video HERE.
Friday, February 28, 2014
Getting Started With SewArt Embroidery Design Software- Image To Embroidery File (remake)
Today I will show how to use SewArt to turn an image into an embroidery file. This video is a remake of a previous video I did. The quality was not as good as I would have liked. So once again we will take a good look at getting started with SewArt and how to use all the tools so you can produce a nice clean embroidery file.
.jpg)
Click HERE to see the video!
To try SewArt Click HERE!
Enjoy!
Sunday, July 28, 2013
Walking Foot- Very Handy
Today's post
is all about the walking foot. If you ever machine sew think
materials. have the need to sandwich material together or do straight
line quilting this addon is a must have. Let me tell you how it
works.

The
walking foot attaches to the presser foot bar like most regular feet.
It has a holder that hooks over the presser foot bar and is then
secured by the presser foot holder screw. Additionally it has a lever
with a "U" shaped notch the slides over the needle clamp
screw shaft as you can see at the top of the second picture. By the
lever attaching in this way, this is what makes this wonderful foot
work. Let me explain how.

As
the needle moves up and down so does the lever that is attached to
it. Inside the body of the walking foot there are mechanisms that
connect to the foots "upper feed dog". This creates a
moving feed system that holds and moves fabric between the presser foot's upper feed dog and
the machine's feed dogs. As the needle raises, the walking foots
feed dog goes down to press the fabric against the sewing machines
feed dog. The motion of the walking foots feed dog is elliptical,
so as the sewing machine pushes the material back to position for the
next stitch so does the walkings foot. This allows the material to
move evenly as you sew.

I
hope you enjoyed this post about the Walking Foot. If you would like
to see it in action check out my video HERE.
If you have comments please leave them below.
Thank you for visiting my blog!
Saturday, July 27, 2013
DIY Headband- Recycling an old shirt.
 |
| DIY Headband by recycling an old shirt. |
 |
| Find an old shirt. |
 |
| I measured 12 inches from the bottom hem. |
 |
| Mark your cut line. |


 |
| Cut along your line |
 |
| Nice straight cut complete. |
 |
| Now cut the "tube" of fabric to make a rectangle. |
 |
| Trim the edges to square up your piece of fabric. |


 |
| Fold in half the long way. |
 |
| And again... |
 |
| One more time. |
 |
| This is about 1 3/8 (35mm) wide. |
 |
| Pin for sewing. |
 |
| Now we have our sewable piece. |
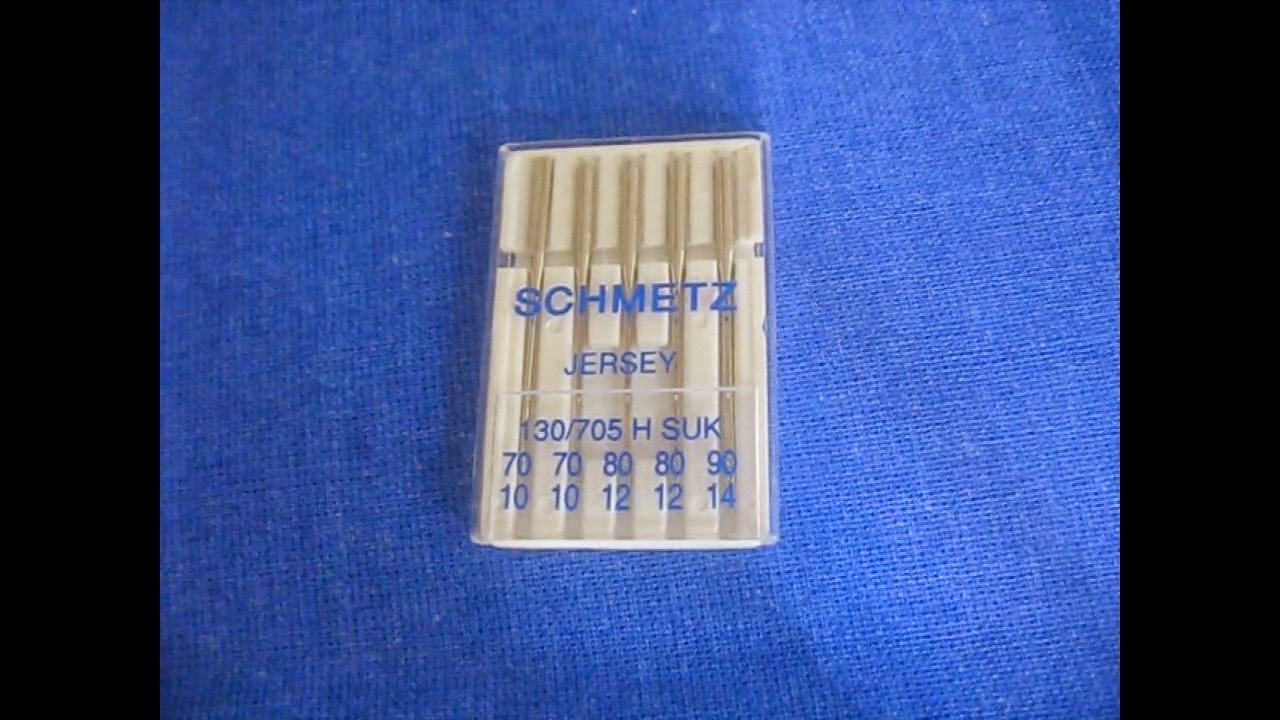 |
| Use a sharp needle. |
 |
| If you have a walking foot it helps with thick material. |
 |
| Check your stitches. |
 |
| Cut the ends so you can bind them with a zigzag stitch. |


 |
| Bind using a zigzag stitch. |


 |
| Fold over each side. Kind of like a knot, but so that both ends attach on the same side. |


 |
| Pin at the desired length. |
 |
| Use a back and forth stitch at the corners to attach on each side of the pin. |


 |
| You can now decorate or embellish however you like. |
|
If you want to see this in video format click HERE.If you have comments please leave them below.Thank you for visiting my blog! |
Subscribe to:
Posts (Atom)